
How to Sight in a Rifle Scope: Expert Guide for 2026
Understanding how to sight in a rifle scope properly represents one of the fundamental skills every shooter must master. Whether you're preparing for hunting season, competitive shooting, or simply want to ensure your firearm performs accurately, establishing a proper zero transforms your rifle from a potential liability into a precision instrument. The sighting-in process aligns your scope's point of aim with your bullet's point of impact at a specific distance, creating the foundation for consistent, ethical shooting.
Essential Equipment for Scope Sighting
Before you begin the process of sighting in your rifle scope, gathering the right equipment ensures efficiency and accuracy throughout the session.
Required Tools and Materials
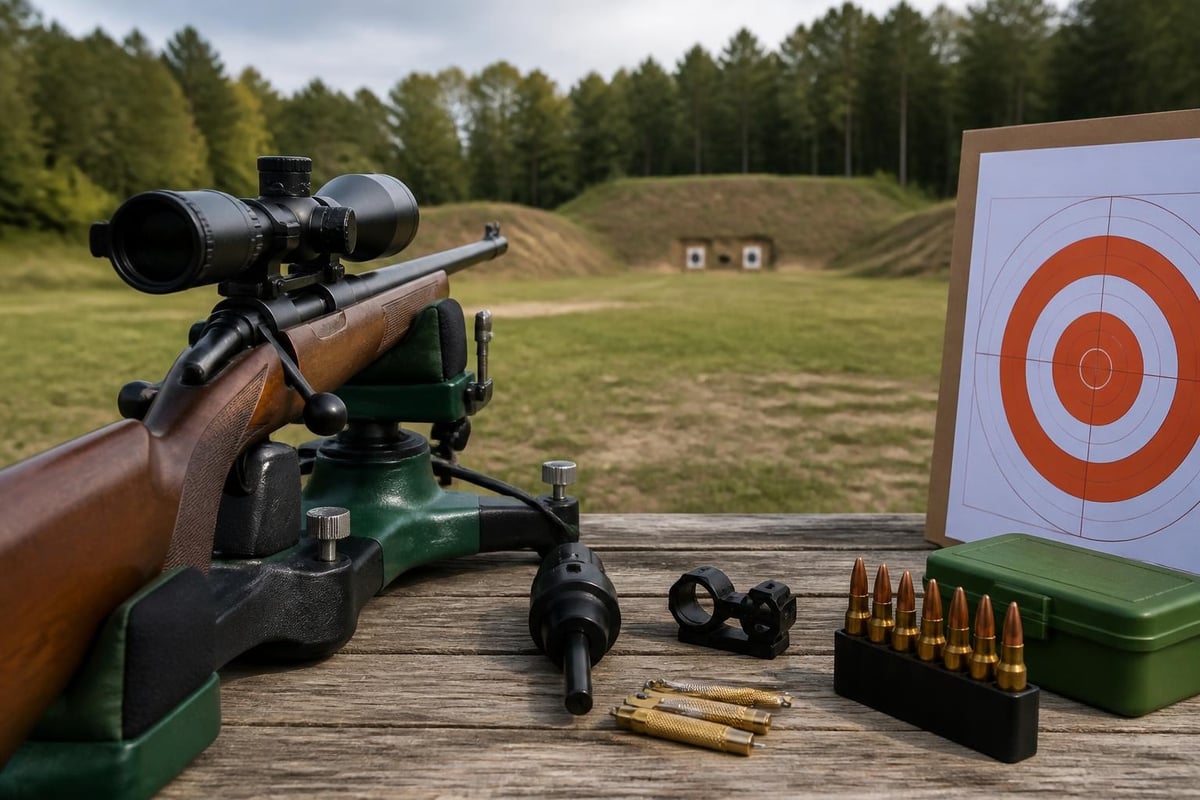
Core equipment includes your rifle with mounted scope, appropriate ammunition, shooting rest or sandbags, and targets designed for zeroing. A stable shooting platform is non-negotiable-whether that's a bench rest, bipod, or quality sandbags that eliminate shooter-induced movement.
Additional helpful items enhance your sighting session:
- Bore sighter (laser or magnetic) for initial alignment
- Screwdriver or hex keys matching your scope's turret adjustments
- Spotting scope or binoculars for viewing distant targets
- Weather-resistant targets with clear aiming points
- Cleaning supplies to maintain barrel condition between groups
- Shooting mat or pad for comfort during extended sessions
Ammunition Selection Considerations
Choose the exact ammunition you intend to use in the field. Different bullet weights, velocities, and designs produce varying points of impact. Sighting in with budget practice rounds then hunting with premium ammunition negates your entire zeroing effort.
Purchase at least 20-40 rounds for the initial sighting session. Quality factory ammunition typically provides more consistent results than hand-loads for shooters who haven't perfected their reloading technique. RCS Outdoors stocks a comprehensive selection of ammunition suitable for various rifle platforms and hunting applications.
Understanding Scope Adjustments and MOA
Modern rifle scopes feature turret adjustments measured in either Minutes of Angle (MOA) or milliradians (MRAD). Understanding these measurement systems prevents confusion during the adjustment process.
MOA Explained
One MOA equals approximately one inch at 100 yards, expanding proportionally with distance. At 200 yards, one MOA equals roughly two inches; at 300 yards, three inches. Most scopes adjust in 1/4 MOA increments, meaning four clicks equal one inch of adjustment at 100 yards.
| Distance | 1 MOA Value | 1/4 MOA Click Value |
|---|---|---|
| 100 yards | ~1 inch | ~0.25 inch |
| 200 yards | ~2 inches | ~0.50 inch |
| 300 yards | ~3 inches | ~0.75 inch |
Turret Mechanics
Elevation turrets adjust vertical point of impact, while windage turrets control horizontal placement. Always verify your scope's click value-some tactical scopes use 1/8 MOA or 1/10 MRAD adjustments. The Texas Parks & Wildlife Department provides comprehensive guidance on understanding these adjustment systems within their hunter education materials.
Capped versus tactical turrets represent two common designs. Capped turrets protect adjustments from accidental movement but require tools for changes. Tactical turrets allow finger adjustments, beneficial for shooters who regularly dial elevation for varying distances.
Proper Scope Mounting Fundamentals
The quality of your scope mount directly influences sighting success. Poor mounting creates inconsistencies that no amount of adjustment can overcome.
Ring Alignment and Torque
Scope rings must align perfectly to prevent stress on the scope tube. Use a ring alignment tool or have a qualified gunsmith verify alignment before final tightening. Misaligned rings bend the scope tube internally, damaging the erector system.
Follow manufacturer torque specifications precisely:
- Base screws: Typically 20-25 inch-pounds
- Ring cap screws: Usually 15-18 inch-pounds
- Ring base screws: Often 55-60 inch-pounds for Picatinny systems
Apply thread-locker to base screws after confirming proper alignment. Check ring tightness after the first 20 rounds, as initial recoil can settle components.
Eye Relief and Mounting Position
Position the scope to provide proper eye relief-the distance between your eye and the rear scope lens. Insufficient eye relief risks scope bite during recoil, while excessive distance reduces field of view. Most hunting scopes require 3-4 inches of eye relief.
Mount the scope as low as possible while maintaining clearance from the barrel during recoil. Lower mounting improves cheek weld consistency and reduces height-over-bore distance, simplifying bullet trajectory calculations.
The Bore Sighting Process
Bore sighting provides a rough alignment before firing live ammunition, saving both time and ammunition during the final zeroing process. Wing Tactical’s detailed explanation covers various bore sighting methods applicable to different rifle types.
Laser Bore Sighting Method
Laser bore sighters insert into the chamber or barrel, projecting a laser dot downrange. This method works exceptionally well and takes just minutes to complete.
Insert the laser bore sighter according to manufacturer instructions, ensuring proper caliber match. At 25 yards, adjust your scope's crosshairs to align with the laser dot. This preliminary alignment typically places you on paper at 100 yards, ready for live-fire adjustments.
Optical Bore Sighting Technique
For rifles with removable bolts, optical bore sighting costs nothing and works reliably. Remove the bolt, secure the rifle in a stable rest, and look through the bore at a target 25-50 yards away. Center a visible aiming point in the bore, then adjust the scope's crosshairs to match without moving the rifle.
This traditional method requires patience but develops understanding of the relationship between bore axis and scope line of sight.
Establishing Your Zero Distance
Selecting an appropriate zero distance depends on your intended use, cartridge ballistics, and typical shooting ranges. Understanding how to sight in a rifle scope effectively requires matching zero distance to practical application.
Common Zero Distance Options
100-yard zero remains the most popular choice for general-purpose hunting rifles. This zero provides predictable holdovers for most hunting scenarios within 300 yards, depending on cartridge performance.
200-yard zero benefits flat-shooting cartridges and shooters who engage targets primarily at mid-range distances. This zero minimizes holdover requirements between 100-250 yards.
50-yard zero suits rimfire rifles, short-range hunting applications, or preliminary zeroing before confirming at longer distances. Many shooters establish a 50-yard zero first, then verify and adjust at their final zero distance.
| Zero Distance | Best Applications | Typical Holdover at 300 Yards |
|---|---|---|
| 50 yards | Rimfire, preliminary setup | Varies significantly |
| 100 yards | General hunting, versatile use | 6-12 inches (cartridge dependent) |
| 200 yards | Long-range hunting, flat cartridges | 8-15 inches (cartridge dependent) |
Environmental Considerations
Zero your rifle under conditions similar to expected field use. Temperature, altitude, and humidity affect bullet performance, though these factors matter more at extended ranges. A scope zeroed at sea level in 90-degree heat will shoot differently at 8,000 feet in freezing conditions.
Wind significantly impacts zeroing accuracy. Schedule range sessions during calm conditions, preferably morning hours before thermal currents develop. Even light wind introduces variables that complicate initial zeroing.
Step-by-Step Live Fire Zeroing
After bore sighting, live fire zeroing refines your scope adjustments to achieve precise point-of-impact alignment. The Range 702’s seven-step process provides an excellent framework that complements this approach.
Initial Shot Group
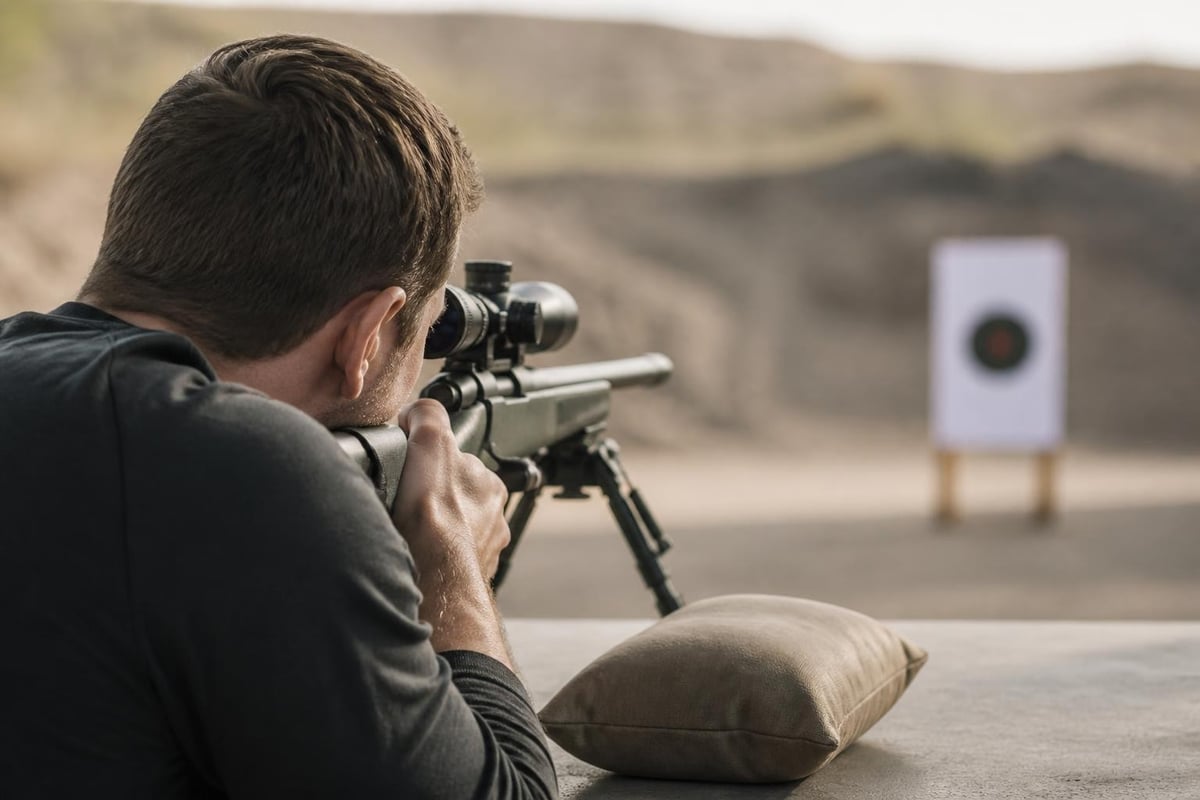
Fire a three-shot group from a stable rest, focusing on consistent shooting fundamentals rather than adjusting between shots. Evaluate where the group centers relative to your aiming point. Individual shot placement matters less than group center location.
Proper shooting technique ensures reliable results:
- Consistent cheek weld and shoulder position
- Natural point of aim alignment
- Smooth trigger press without jerking
- Follow-through after each shot
- Allowing barrel to cool between groups
Calculating Required Adjustments
Measure the distance between your group center and point of aim. For scopes with 1/4 MOA clicks at 100 yards, divide the distance in inches by 0.25 to determine required clicks.
Example calculation: If your group centers 3 inches right and 2 inches low at 100 yards with 1/4 MOA adjustments, you need 12 clicks left (3 ÷ 0.25) and 8 clicks up (2 ÷ 0.25).
Adjust the scope, fire another three-shot group, and reassess. Repeat until your group centers on your aiming point. For those seeking comprehensive understanding of the technical aspects, Gun University’s guide explores common adjustment mistakes and correction strategies.
Fine-Tuning Your Zero
Once groups center near your point of aim, fire a five-shot verification group. This larger sample size confirms consistent zero and reveals any technique issues masked by smaller groups.
Perfect zeros are rare on first attempts. Expect to invest 15-25 rounds achieving a solid zero. If you're burning through significantly more ammunition, evaluate your shooting fundamentals or have an experienced shooter test the rifle to isolate technique issues from equipment problems.
Exceptional products like the Browning X-Bolt 2 Hunter in 300 Win Mag feature accuracy-enhancing designs that reward proper zeroing procedures with exceptional downrange performance. Quality rifle platforms make the entire sighting process more straightforward and repeatable.
Verifying Zero at Extended Distances
After establishing a 100-yard zero, verifying performance at your maximum intended shooting distance confirms both scope adjustments and trajectory understanding. This step proves especially critical for hunters planning shots beyond 200 yards.
Distance Verification Protocol
Set targets at your typical hunting ranges-perhaps 100, 200, and 300 yards. Fire three-shot groups at each distance, recording point of impact relative to point of aim. This data creates your personal trajectory reference.
Modern ballistic applications calculate predicted drop, but actual verification accounts for your specific rifle, ammunition, and environmental conditions. Record all verification data for future reference, noting temperature, altitude, and atmospheric pressure if available.
Trajectory Mapping
Understanding bullet drop at various distances allows confident field shooting. Most hunting cartridges with a 100-yard zero impact 3-8 inches low at 200 yards and 12-30 inches low at 300 yards, depending on cartridge and bullet selection.
Create a simple reference card listing holdover or turret adjustments for each distance. Waterproof this card and attach it to your rifle stock or store it with your gear. Outdoor Life’s comprehensive article discusses advanced techniques for managing trajectory across multiple distances.
Troubleshooting Common Zeroing Problems
Even experienced shooters encounter challenges when learning how to sight in a rifle scope. Recognizing common issues accelerates problem resolution.
Shot Groups Fail to Improve
Large, inconsistent groups typically indicate shooter error, ammunition quality issues, or mechanical problems. Test different ammunition brands, verify scope mounting torque, and have another shooter test the rifle to isolate the cause.
Consistent group placement but poor group size suggests the rifle may shoot better with different ammunition or requires bedding/trigger work. Some factory rifles benefit from professional action bedding or trigger adjustments to achieve optimal accuracy.
Adjustments Don't Match Expectations
If turret adjustments don't produce expected point-of-impact changes, verify you're rotating turrets in the correct direction. "Up" moves impact higher; "right" moves impact right. Some shooters become confused and adjust opposite their intention.
Scope tracking problems occasionally occur, where adjustments don't produce proportional changes. This defect requires scope replacement, as internal mechanisms have failed. Quality scopes rarely exhibit tracking issues, but budget optics occasionally disappoint.
Environmental Interference
Mirage from barrel heat or ground reflection distorts your sight picture, particularly in warm conditions. Allow adequate cooling time between shots and avoid shooting during peak heat when possible.
Parallax error occurs when your eye isn't centered in the scope, causing apparent target movement when you shift head position. Adjust the parallax/focus ring (if equipped) until the target appears sharp and doesn't shift with head movement.
Maintaining Your Zero
After investing time establishing a proper zero, protecting that zero through proper rifle handling and storage preserves your work. AmmoToGo’s comprehensive guide emphasizes zero maintenance as critical for long-term accuracy.
Post-Zero Verification Schedule
Verify zero before hunting season, even if the rifle hasn't been fired since last year's verification. Temperature changes, storage conditions, and simple settling can shift zero slightly.
After scope removal or ring adjustment, complete re-zeroing is mandatory. Even minor scope movement changes point of impact significantly at distance.
Following significant impact or drop, verify zero immediately. Hard impacts can shift scope position or damage internal mechanisms despite external appearance suggesting everything remains secure.
Storage Considerations
Store rifles in controlled temperature environments when possible. Extreme temperature cycling stresses scope internals and can affect zero consistency. Avoid leaving rifles in hot vehicles for extended periods.
Transport rifles in padded cases that protect against impact and vibration. Hard cases with foam cutouts provide superior protection compared to soft cases, particularly during air travel or vehicle transport over rough terrain.
Advanced Zeroing Techniques
Experienced shooters often employ additional techniques that enhance zeroing precision and field effectiveness. These methods build upon fundamental zeroing skills.
Multiple Zero Confirmation
Rather than firing all shots at a single aiming point, some shooters prefer confirming zero across multiple aiming points. Place four small dots in a square pattern on your target. Fire one shot at each dot, then examine the group relationship.
This technique reveals both zero accuracy and group size without creating a single large hole that obscures individual shot placement. It also eliminates potential flinching from repeatedly aiming at the same point.
Cold Bore Zero Verification
Your rifle's first shot from a cold, clean barrel often impacts slightly differently than subsequent shots from a warm, fouled barrel. Verify your cold bore zero by firing only the first shot during several range sessions, allowing complete cooling between shots.
Understanding cold bore shift matters for hunters whose critical shot likely comes from a cold barrel. If cold bore impact differs significantly from warm barrel zero, adjust your zero to favor cold bore accuracy or know your cold bore offset.
Ballistic Computer Integration
Modern ballistic calculators account for numerous variables affecting trajectory. Input your verified zero distance, actual velocity measurements from a chronograph, and environmental conditions to generate precise firing solutions for any distance.
Verify calculator predictions against actual field data at multiple ranges. Most quality ballistic applications produce excellent predictions, but nothing replaces actual verification with your specific rifle and ammunition combination.
Legal and Safety Considerations for Range Use
Responsible shooters prioritize safety and legal compliance during all zeroing activities. Understanding range rules and safe handling procedures protects everyone involved.
Range Etiquette and Rules
Observe all range commands from range officers without exception. Cease fire commands require immediately making rifles safe and stepping back from the firing line.
Verify backstop adequacy for your caliber and ammunition. Some ranges restrict magnum rifle calibers or require specific backstop configurations. Confirm your rifle and ammunition comply with range policies before beginning.
Muzzle awareness remains critical at all times. Keep rifles pointed downrange exclusively, treating every firearm as loaded regardless of actual condition. Chamber flags provide visual confirmation of empty chambers during cease fires.
Public Land Shooting Regulations
Many shooters sight in rifles on public land where designated ranges don't exist. Research local regulations governing shooting on public property, as restrictions vary significantly by state and land management agency.
Establish safe shooting positions with adequate backstops-preferably steep hillsides or earthen berms providing complete bullet containment. Ensure no structures, roads, or trails exist within your maximum range plus a substantial safety buffer.
Clean up all brass, targets, and refuse after shooting. Leaving trash damages shooting access for future users and provides ammunition to anti-gun advocates seeking to restrict shooting on public lands.
Mastering how to sight in a rifle scope transforms your shooting accuracy and builds confidence for field applications. By following systematic procedures from initial bore sighting through live fire verification and ongoing zero maintenance, you ensure your rifle performs exactly as intended when accuracy matters most. Whether you're preparing for hunting season or simply pursuing shooting excellence, RCS Outdoors provides the rifles, optics, ammunition, and accessories you need to achieve and maintain precision accuracy throughout the year.


